Create a new VPN
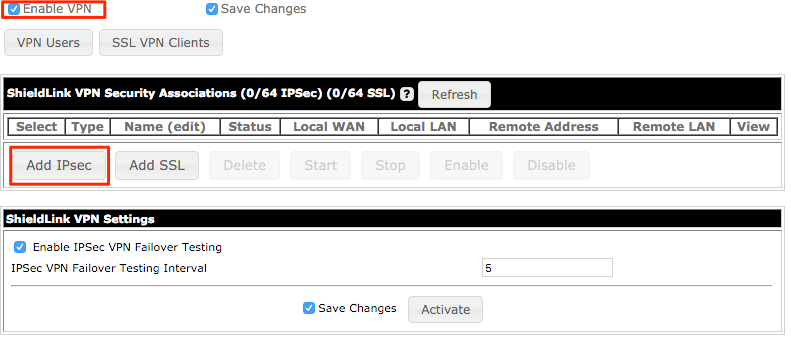
To create a new VPN click on “Configure VPN” in the “Advanced Setup” section of the web interface. On the VPN Configuration page click the “Enable VPN” checkbox to enable the VPN server if it is not already.
Click on “Add IPSec” to create a new connection.
The “Name” must be unique and cannot be changed later without recreating the VPN. Select the L2TP Connection Type from the drop down menu in the upper right corner.

Local Information
Click “Add Local WAN” and type in the WAN IP address that users will connect to. Click on “Add Local LAN” and type in the network that VPN users will have access to.
Remote Information
To allow connections from anywhere leave the remote information blank.
Authentication and Encryption Options
All security options can be left at the default settings except for “Shared Secret.” Type in a shared secret that users will use to connect to the VPN.
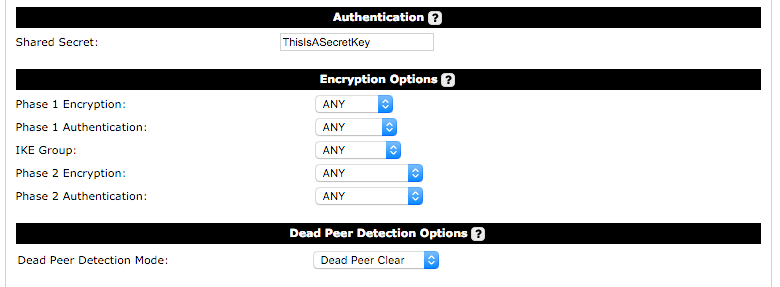
Dead Peer Detection Options
This option provides choices for the type of VPN Dead Peer detection to be used:
- Disabled: No Dead Peer detection is used.
- Dead Peer Clear: In this mode, Dead Peer Detection (RFC 3706) keep-alives are used for testing rather than ping testing. When no reply is received, the connection is cleared. No restart of the connection is attempted. This should be used for a road-warrior server type (where no Remote Addresses are configured).
L2TP Options
The “IP Range Begin” and “IP Range End” is the range of addresses that will be assigned to VPN users. This network should be unique and not in use elsewhere on the ShieldLink. “DNS Server Address” and “WINS Server Address” should be the address of these resources on the LAN of the ShieldLink. “DNS Domain” is the domain name to be appended to hostnames. For “User Authentication” select “CHAP”.

Configure VPN Users
From the main “Configure VPN” page click on “Configure VPN Users”. Create a “User” and “Password” for each user who will connect to the VPN.

Advanced Options
One-to-One NAT Rules
The One-to-One NAT Rules section can be used to define rules which will create a mapping between LAN IP addresses and arbitrary NAT IP addresses. This can be useful in cases where the remote end may have VPN connections to multiple sites which have the same LAN Subnet(s). Or in cases where the remote end itself may have the same LAN Subnet as the Ecessa. In the latter case the remote end should also have One-to-One NAT rules.
0 Comments